Sunday, September 12, 2010

Card Holder


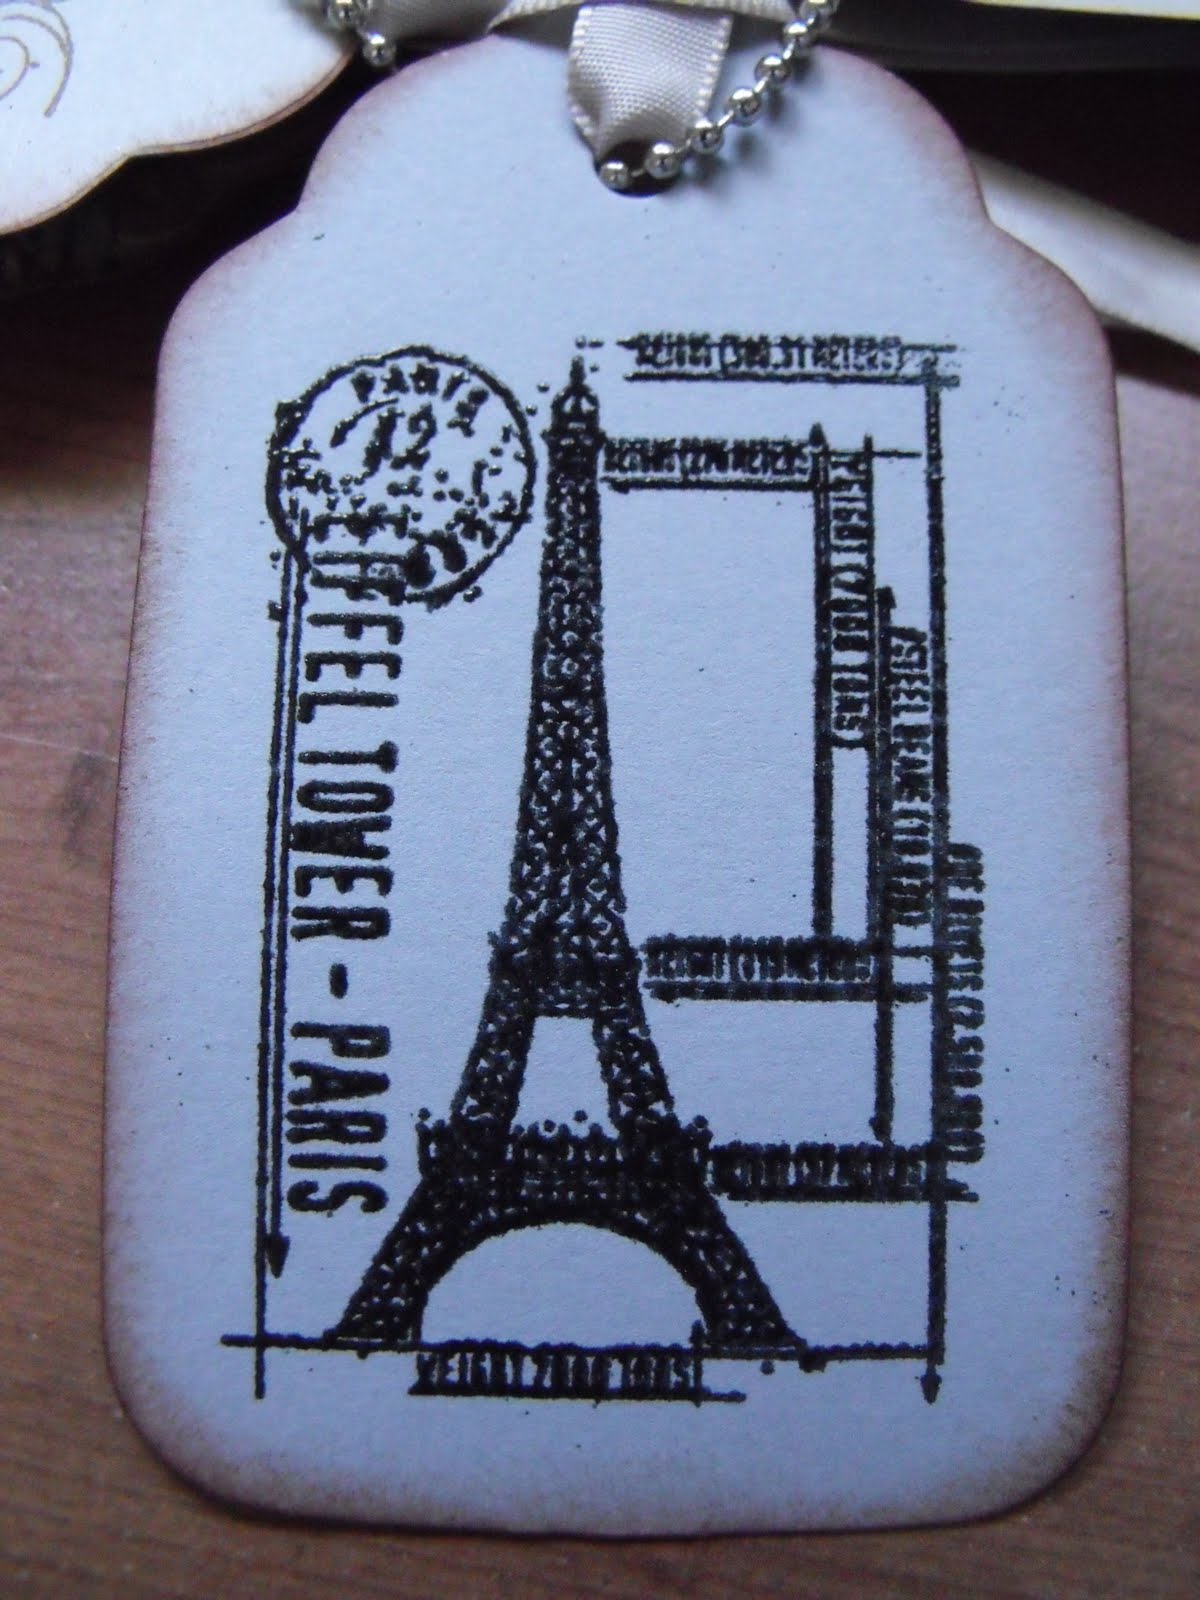
I found this Eiffel Tower card/picture holder this weekend at Home Sense and couldn't resist it! ...perfect for displaying cards, I thought. In my craft-time this morning, I decided to embellish it though because it was so starkly black and that it's Paris at all - Paris has this wonderful brownish-vanilla'y-yellow tone...and antique goldish...well kind of like this tag I made:) I just love vintage!!

Thursday, September 09, 2010

Embossing Charms


In the second September challenge over at A Charming Place, we were challenged to create a project using 3 charms and to emboss those charms. I never knew you could do that - what fun! I used a heart, key and slide charm and embossed them in 'pirates' gold':) Here's a link to the forum where Leah explains how:) It's really just like embossing a stamped image...stamp your charm into a versamark pad (generously!) and then emboss with embossing powder (generously again!) and a heat tool. As I was doing this, I realized a great application of this would be if you needed a silver brad and only had gold or a copper eyelet and only had silver:) I also pulled out my Big Shot for this project using several of my SU dies and my embossing plates. I think it's important to remember to pull out our stuff and play...too often we don't think to use what we have;)

Charms were, of course, from A Charming Place, and all other supplies were Stampin' Up including:
- chocolate chip, ridinghood red, vanilla, crumb cake and baja blue cardstock
- Artistic Etchings, Tiny Tags and French Flair stampsets
- Top Note and Label dies for the Big Shot along with one of the standard embossing plates
- Inks were: close to cocoa, chocolate chip, ridinghood red and black. I also used a versamark pad with the embossed pieces
- Ribbon: very vanilla satin ribbon, chocolate chip taffeta ribbon and linen thread

Thursday, September 02, 2010

Flattenable Box


So I finally got around to trying this project from Kimberly! I mostly wanted to figure out how to make a flower like this and play around with a few new supplies. I worked that into my last August Challenge from A Charming Place and this is what I came up with:)

Supplies are from all over on this project: SU, My Mind's Eye, A Charming Place and even The Dollar Store;)


Wednesday, August 18, 2010

Altered Tin Swap


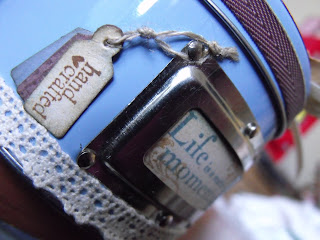
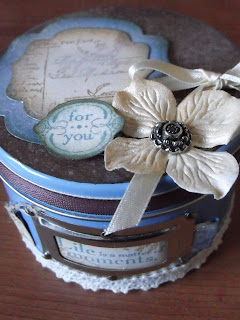
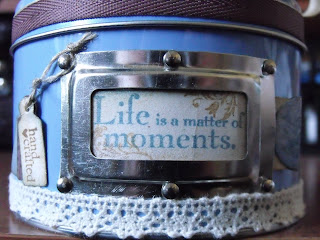
I'm part of an altered tin swap and this is what I came up with...now to figure out how to mail it;) It's filled with some crafting treasures all of which can be inked, smooched or glimmer misted to coordinate with lots of different crafting projects...

Friday, August 13, 2010

August MAP Challenge


I was a little stumped at first on this challenge (over at ACP). I didn't have any map dp or stamps?! But then I took some inspiration from a co-worker's upcoming anniversary trip to Italy and I found a map of Italy online, copied it into word and edited it a bit - then printed it out on kraft and inked it up. I stamped the background using SU's flourish stamp from the elements of style set and I clear embossed it. The flourish on the tag comes from SU's tiny tags set and the 'bon voyage' stamp is from Michael's $1.50 bin. I chose to use a wine bottle charm to finish it off because Italy is the wine capital of the world (well, next to France) and it seemed fitting with the sentiment:)

Sunday, August 01, 2010

August Challenge #1 - Travel Challenge


Shawna is hosting the challenges at ACP this month and posted the most breathtaking project this morning. Her challenge was to create a travel themed project and to make it 'charming'. As you all know, I LOVE Paris...with my husband working and my daughter sleeping this morning, I had time to play. I decided to try and use some supplies or techniques I hadn't before - so I pulled out my decor elements stencils and my presto paper. I had sponged with the stencils before, but today I also used a background stamp. With the presto paper, I used my favourite spun sugar smooch spritz and some sponging. I used 2 charms from ACP, the postcard and the 'paris'....and voila!

Saturday, July 31, 2010

First Challenge


I became a member at ACP this week. They have monthly challenges and this is what I made for my first-ever challenge. The challenge was to use EITHER black OR white and then only 2 other colours (and to use a charm, of course!). I chose to use white, turquoise & brown - and since I was making a flower, I used a flower charm:) I combined this challenge with a flower tutorial I found today that I wanted to try out. The DP is some old Penny Lane paper from last summer.

Friday, July 30, 2010

Card Candy Swap


I'm participating in a card candy swap over at 'A Charming Place'. This is what I came up with:)

Thursday, July 22, 2010

Rocker-husbands read too!...


...another bookmark...this time for my hubby...more scraps used...more fun playing...

Tuesday, July 20, 2010

Reading is the 'key';)


I've made a few more corner bookmarks - mostly as a place to play with some new goodies, but also because my family really liked how they work:)

I used the new sizzex die from Tim Holtz on this one (paper is all scraps;)

Sunday, July 18, 2010

Mini Album...started..


Yesterday was 'Stamp-Camp'...an annual event at Shawna's cabin at the Lake were we do projects and get to see the new Stampin' Up Catalog:) It was a fun day of projects, techniques, friends and food (I even had that first smore I've had in probably 4-5 years!)

This was the mini album I started - there's lots more to be done, but I thought I'd share it since it features some of my favourite new products - actually, everything on page 125 in the new Catalog is my favourite;) It will be fun to finish off the inside and maybe I'll get some pictures posted of that part when it's done:)

Monday, July 05, 2010

Another Bookmark

I liked the way the corner bookmark I posted on the weekend works, so I made this one for my tea-loving friend...again out of scraps...the stamps I used were from Basic Grey's Nook & Pantry, Cup of Tea collection. All inks used were distress ink...the brownish tone is my usual (and most favourite), vintage photo:) and the blue is called stormy sky:)

Saturday, July 03, 2010

Corner Bookmark


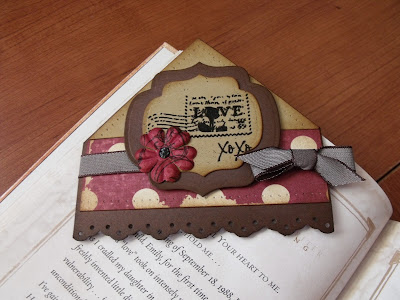
I played around with this week's Splitcoast tutorial this morning and this is what I came up with. I have to say I'm really pleased with how well it works as a bookmark! I used an assortment of scraps really - the largest piece of cardstock needed is only 4 x 4. I embossed the stamped images - and the stamps were from Pink Paisley's Cupid Collection:)

Wednesday, June 30, 2010

Memory Glass


This was my first attempt playing around with Ranger's Memory Glass. I had a little trouble with the thickness, but I wasn't willing to sacrifice dimension for it;)

Sunday, June 27, 2010

Merci


Just playing around with smooch spritz on a thank you card this weekend:)

Friday, June 18, 2010

Penny Lane Frame

Friends of ours recently went on a mission trip to Africa and the pictures inspired this frame. I used some penny lane paper and some chestnut fluid chalk ink:) The flower is made out of 3 circles punched out of coordinating paper and distressed.
Also on a side note, I finally got my 'create' up on the wall in my craft space:)

Friday, May 28, 2010

My First Canvas!


I've been seeing a new trend here and there these days...papercrafting on canvas, and I kept hoping I would find a local class to bravely equip me to try it out, but alas, I could wait no longer and I sat down and started to create. This canvas took me one delightful morning and 2 homemade cafe mochas;)

I worked on the canvas itself with some vintage photo distress ink and my new favourite, spun sugar smooch spritz:) The accordion ribbon technique was Nadine's that I also used in my last post (http://delitetechniques.blogspot.com/2010/05/accordion-ribbon.html) and the technique to make the flower came from this little tutorial from Dawn at My Favourite things (http://dawnmcvey.typepad.com/these_are_a_few_of_my_fav/2010/01/new-raspberry-suite-sneakie-peek.html). The layers of the flower are also sponged and smooched! The bookprint sheet and punches for the flower all came from a used edition of Jane Austin's Persuasion. I ripped the sheet used on the left side and white embossed it with baroque motifs (I'd seen something similar to this a long time ago somewhere but cannot remember where - I think they used black though...) The inspiration for the string of buttons along the ribboned end also came from there. The butterflies were all done with an embosslet.

The sentiment is so now for me. LIVE - we wait for perfect conditions often to create or live out or dreams. I'm learning not to wait...


Edited to add: I should note that with the accordion ribbon, this time I didn't use liquid glue...I mostly used glue dots this time and found it a little easier. Also, I'm sorry the links aren't live, I'm having difficulty giving live links within my posts these days and I haven't seemed to find an answer to this dilema;)

Thursday, May 27, 2010

Accordion Flower & Ribbon Technique


What do you do with old pattern paper that you have sitting around that you don't care for? You smooch it! I made this little accordion flower out of a strip of baby blue & white patterned paper that I wasn't fond of. First I used a little distress ink on it, then I stamped it with SU's baroque motif's swirls with distress ink, and then I sprayed it with spun sugar smooch spritz. I ended up with a vintage strip that I tried out Leica's accordion flower technique on (http://10-4livingoutloud.typepad.com/leica_forrest/2010/05/accordion-flowers-step-by-step.html). And then I played with Nadine's accordion ribbon technique from last weekend too (http://delitetechniques.blogspot.com/2010/05/accordion-ribbon.html) :)

Sunday, May 23, 2010

Saturday, May 22, 2010